Monday 30 March 2015

LoriAnne tunic 5910

This is one of the indie patterns I picked up a Expo this year. I had such high hopes for a nice semi-fitted woven tunic. Sorry LoriAnne, this one has left me still hoping. It didn't look anything like the pattern envelope when I was finished!

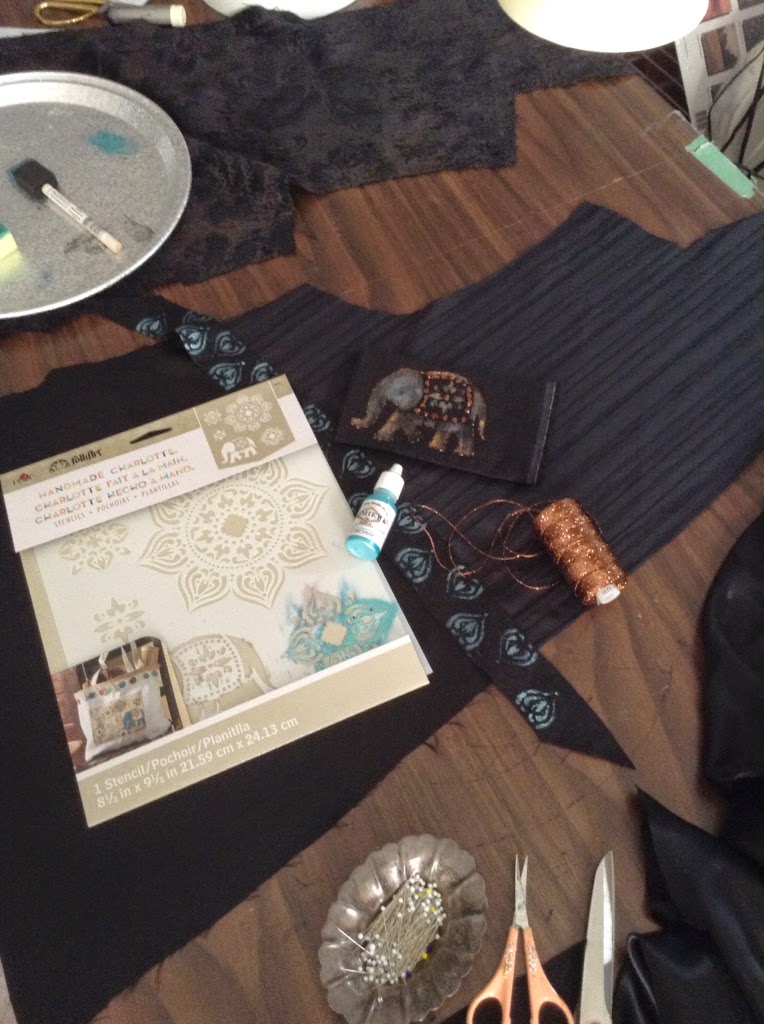
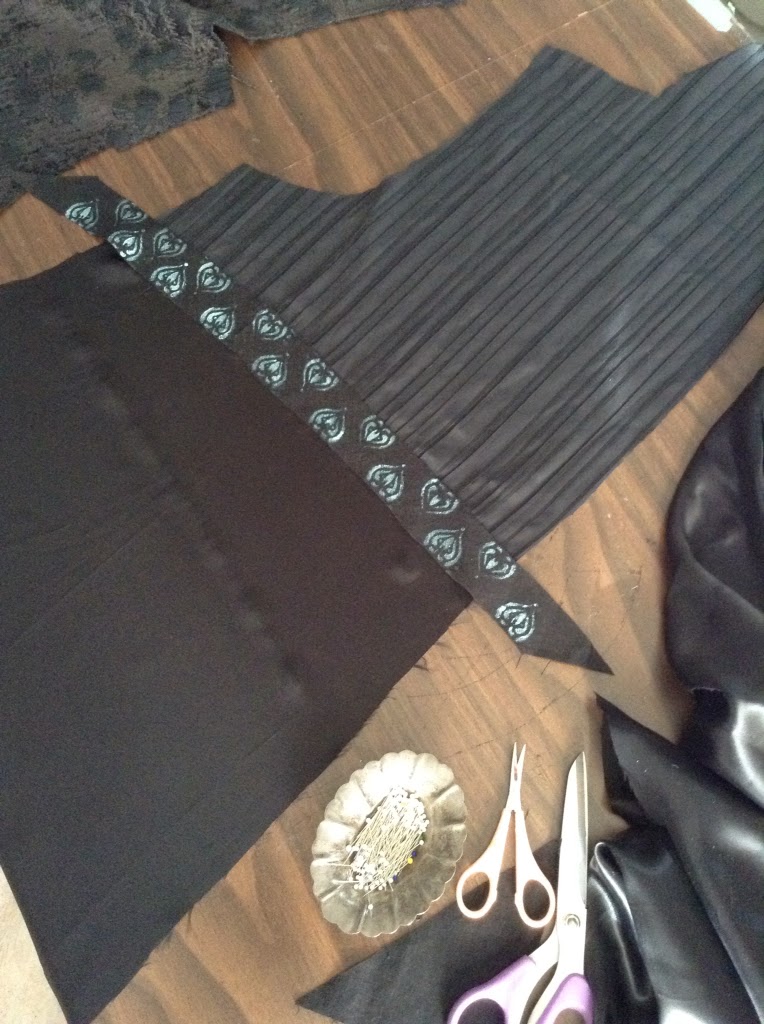
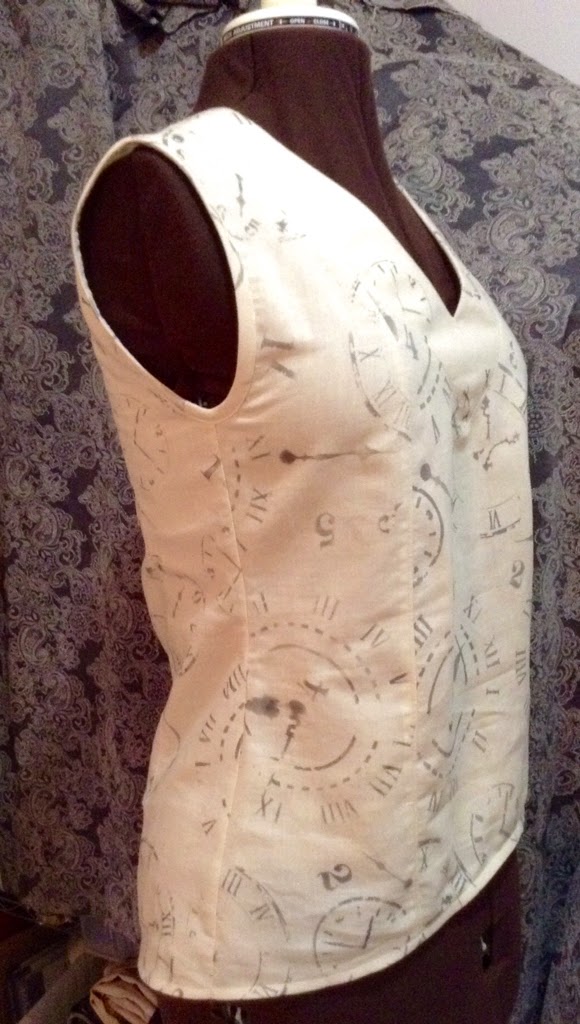
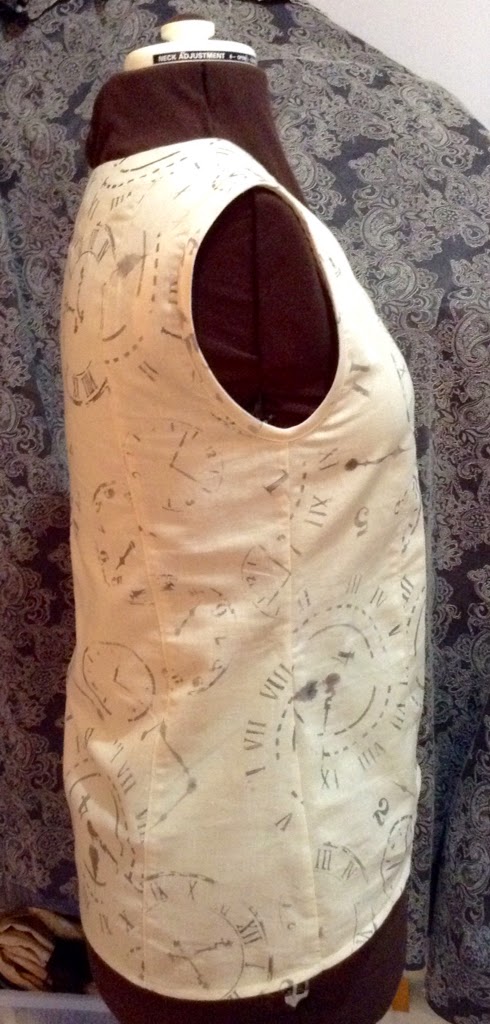
Despite my disappointment with this pattern, I still managed to produce a wearable little top. I used a linen, pre washed, and stenciled on it using Lumiere paint by Jacquard in a metallic grey. The stencil is from The Crafters workshop.


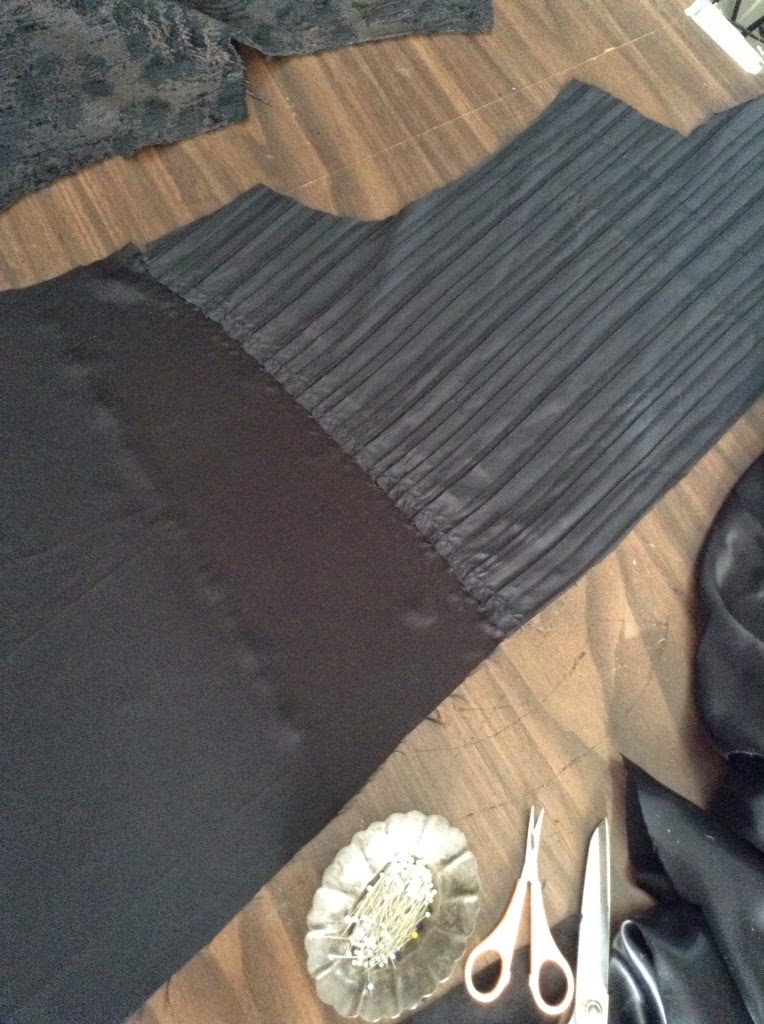
I originally made the first view-In a black voile burnout. It stitched up okay but it was a square box with no style what so ever. I didn't even waste a digital picture on it.

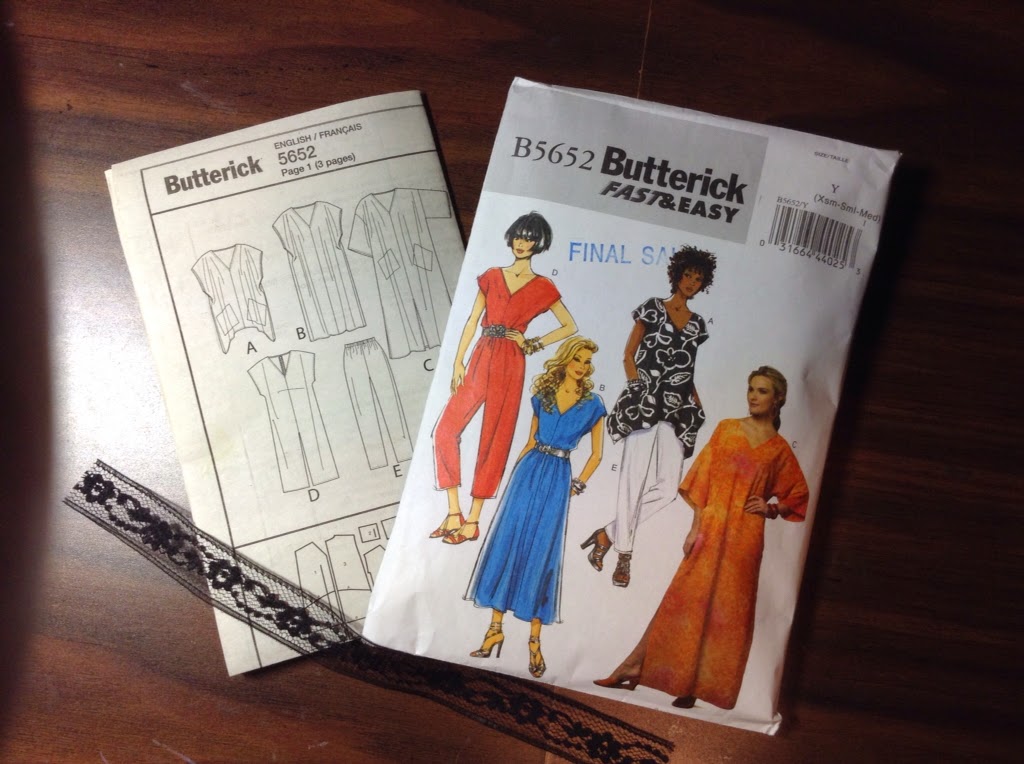
Next I tried the second view- the one with the princess seams. The line drawing and the fashion sketch on the envelope, clearly shows a garment with a shapely waist indentation and a longer, slimmer silhouette. Nope , square , boxy/short, shapeless. Is it just me? Tunics are supposed to be on the longer side, Right? Well what ever - I gave both views a try and I'll give both of them a thumbs down. I made my usual size 10 and I don't usually have many fitting issues. I think it's just a shapeless pattern. Maybe if there had been a photo of a real garment on a real person I could have made a better decision on which pattern to purchase.


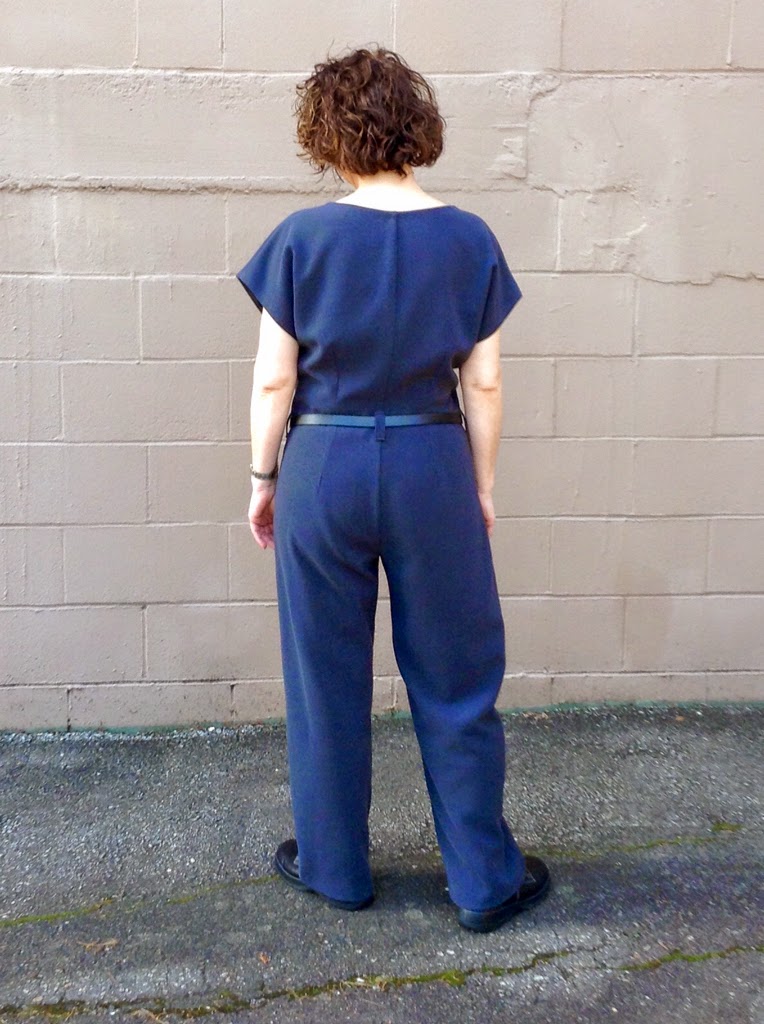
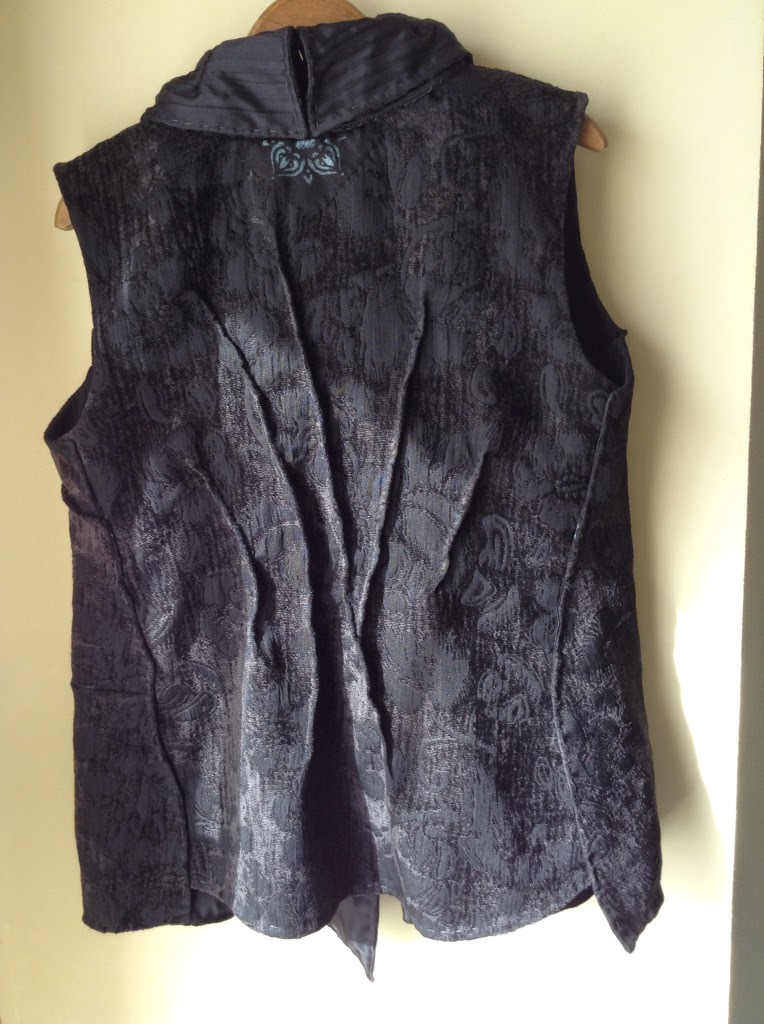
From below the arm and down the entire length I removed 4" from both sides. The bust point fit perfectly. There were side slits but I closed them up. To give it a little bit of a currant look, I gave the bottom with a gentle hi/ low hemline, without removing any length from the back as it was short enough already.

Yes, I could have shaped in the princess seams a little but they were already topstitched. And besides, it was not supposed to be a tight fitting bodice, it was supposed to have a hint of shape!

I don't like to give bad reviews. I'm sure it's just that this is not the pattern for me. LoriAnne had some other styles that looked really nice and one day I might give them another try. But for now I can find lots of other things to make that actually fit without reinventing the fly wheel.

Has anyone else tried her pattern? Any success? Let me know.

Thanks for stopping by.

Maureen


Friday 27 March 2015

Butterick 5652 Fast & Easy

This is such a strange little pattern- a dress, a top, a jumpsuit, pants, and what the heck- lets throw a muumuu in there! 5652
I picked this because I liked the top, then decided on the jumpsuit. I read some reviews on the PR website , after I bought it, of course, most were not highly recommended. However I listened carefully to what they had to say and took the advice. Very loose fitting, usually means huge, so I cut out an extra small, if you can believe it, and it was still way too big. The rise fit just perfect , that was my major concern. The pant length was bizarre- never in fashion history, have pants ever been cut at that spot. Why you ask? Because it's awful and unflattering on every body type! I added around 6" to make them real pants. I also added 1" to the sleeve length.
Still, I just had a hunch I would love this pattern. Although this jumpsuit is a totally modified from the original, it had the right bones. I liked the simplicity - only 2 pieces! ( and pockets)The sleeves gave me the right amount of coverage I was looking for.
This fabric was a dream to sew with. I picked it up at expo- can't remember the booth. I wish I had bolts of it!!! Sadly it's all gone now. I think it would be a double knit of some sort, fiber content escapes me too. I did pre wash it in hot water and the dyer, so I'm good to go. I had to use a press cloth and a clapper for all my seams so there must be poly in it. I has such a nice weight and drape and a bit of stretch, and it feels yummy and rich.
The original pattern had a 22" zipper in the back (I could just see that as a disaster with my tiny bladder.) so I moved the zipper to the front. Used a shorter one and did an exposed application.
Omitted the side pockets after much debate. So glad I did. I took in the side seams around the waist area only and some from the center back seam. Then I added long fish eye darts.
Zippers are my Kryptonite. I always shy away from them but there was no getting around it on this one. I added fusable interfacing to stabilize it. That really helped. And I just went slow.... I only had to pick it out twice:(. I'm happy with how it turned out.) FYI , the Internet could use a few good tutorials on exsposed zipper applications.

It took me a few days to figure out the belt loop thing. Right up to the last second I was sure I was going to add waist pleats - circa 1930's /40's style. Then decided I liked the clean lines look better.

For all my hems I used bias lace and hand stitched them. The neck edge is bias tape, turn, hand stitch. Just nice and clean. There was no serger used on this garment at all as it add too much bulk to the seams. This fabric will not fray.

I positioned the belt loops higher at the back so my belt would sit lower on the front- I loath waist belts on me. I think they make me look too booby. Men might question that concept but I learned long ago to dress for myself.

Back view. Thank you Spanks for keeping it all together. A girls best friend!!!

Thanks for stopping by!


Thursday 19 March 2015

Saying good-bye....letting it go

A Jenny Haskins quilt.


I made this quilt for my Mom for her 80th birthday. It was a joy to make and to give. Now I give it away a second time.


This is a Jenny Haskins Heritage quilt. Her patterns are mostly influenced by the Victorian era, a love Mom and I both shared. Mom passed away July of 2014 so the quilt came back to me. I was never meant to have it. It just sat in the back of my closet, in a paper bag, making me sad and turning yellow.


I decided with my whole heart and without a single reservation I wanted Mom's cousin Marlene Wright to have it. Much to my sister's disappointment, she wanted me to give it to my niece. I wanted it to end up on my maternal side of the family.

Marlene is a quilter, and the first time she saw it she gasped. That was a good sign.


There has been a lot of strife on my mothers side for many years but Marlene has always been honest, trustworthy, and kind.

Marlene has 7 daughters, 24 grandchildren and 4 great grandchildren- so far... So there is a good chance this will stay in the family for a long while. Hopefully not in a paper bag.


Marlene loved my mom. Enough said.

This log cabin adaptation is the only block where I didn't follow the pattern. For some reason I didn't like the one she made so I did my own thing.

I used my brand new (at the time) Husqvarna Designer Diamond. It was a great exercise in using every single stitch on the machine!!!

I took lots of pictures in order to document it. I find it hard to believe I made such a beautiful thing. I'm not even a 'real' quilter. There were so many techniques and fabrics used. Net, organza,satin...appliqué, embroidery- lots. All, I mean All the lace is made on the machine.

Let's face it Jenny Haskins is the real brains behind this operation. I just followed along. But I will give myself credit for all the free motion quilting.

Making this was labor of love and a wonderful learning experience. I gained a lot of confidence making it, finishing it, and giving it away- twice.

Now I say good bye and let it go.

My Mom.

Thanks for stopping by.


Friday 13 March 2015

Mad for Indie patterns


Okay, I'm mad for Diane Ericson patterns. I bought 5 of them at the Sewing Expo this year and plan to order a few more shortly!!

The first one I have started is the Ventana Jacket and Vest. I cut out for the jacket but completed my garment at a vest. I just let it happen organically and stopped at that point because I liked it , and not just because my fingers were bleeding from all the hand stitching!

I love that Diane invites you to spin your creativity however you want, and encourages you to try things differently then conventional methods would have you do. I'm all about that.


.

I thought I would make a wearable muslin first, so I dove into my Black Box for odd bits of leftovers that I like to save from previous projects, scarves or recyclables.
This is the inside and lining which will end up as the collar. I just sorta picked an empire horizon line and went from there depending on how large my scraps were.
Next I rough cut some bias strips of black linen, 2" wide and stenciled using Lumiere paint by Jacquard- Pearl turquoise. The stencil is by Plaid Folkart.
This paint only takes minutes to dry and then you heat set it with the iron. I just laid this over my lapped seam and stitched it on with a 3 step zig zag. I'm going for the rustic look, so I'm okay with it fraying eventually.
Lola inspects my handy work.
The method for lining is to sew around each piece separately by machine , RS in, leave an opening, trim,clip grade seams,then turn right side out. I have seen this method with Kayla Kensignton's work.
 

Next up making the tucks- pleats,darts or what ever you want to call them. They add shape, fit and dimension and are worked through all layers. I used a dark grey buttonhole twist and made sure I hid my knots deep inside. My stitches were long using a single strand. This could all be done by machine but again, I like the rustic look.

A look on the inside, a fractured appearance is created on the bias binding. This could be an interesting look for the outside of a garment as well.

Closures.... Well... I tore up my sewing studio trying to come up with the right buttons but in the end I made ties using the salvages from 3 different black fabrics. I braided them and added a grey stone bead to the ends -I then stitched them on by hand. (I dismantled a tossed bracelet.) I like the look so much better then the giant snaps I almost used.
Here you can see the lapped side seams.

Detail at the back collar, a loosely whip stitched linen motif. I love the open bit on the collar, I tacked mine on to the surface so it would stay put. My fabric is quite heavy and I didn't want to have to fuss with it every time I wore it.


I took the liberty to cross my vest right over left so the longer asymmetrical point is visible from the underside. There I stitched on some stenciled linen strips to peek out.

Construction also, is hand stitched. I made this in a small/medium, and yet it was still hugely generous. I managed to combat the excess width by lapping the sides,under the arms quite a lot to bring it closer to my body and omitting the folded back flaps. The flaps are a nice design detail I would have liked to have kept, but with my fabric being so thick and sticky-out-y it just didn't work. Had I used a fabric with more drape some of these alterations might not have been nessasary.

I made my "buttons" by sandwiching two, 2" square pieces of thick wool felt between linen. I machined around and then top stitched by hand, leaving the edges to fray.

I'm happy with how this worked out in the end. I will leave you with a really awkward selfie of me wearing it and the knowledge my fingers are healing quite nicely!!!!

Thanks for stopping by.